From sketching and 3D-modeling to material creation, lighting and post production

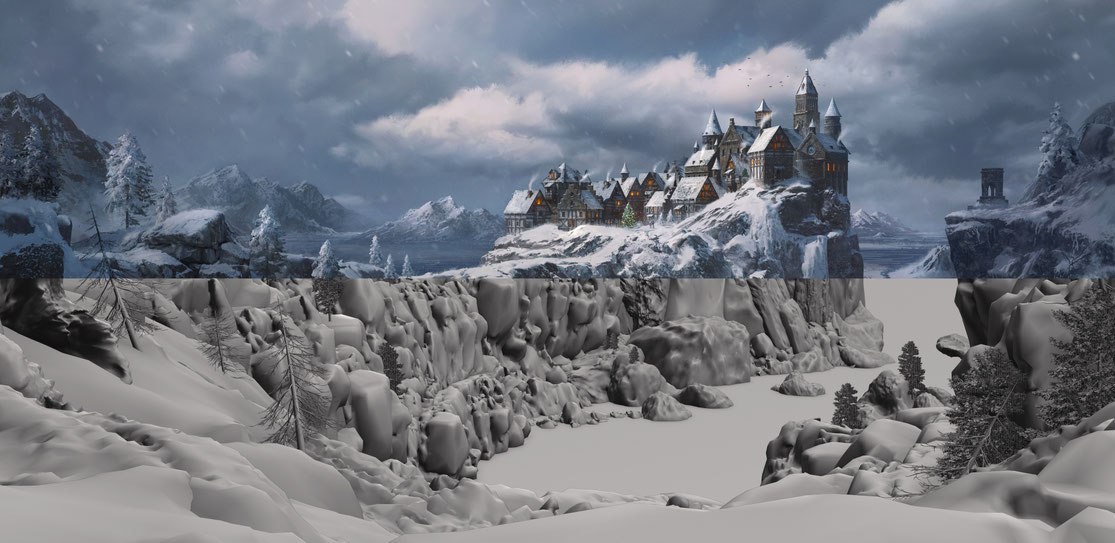
Blocking Out Ideas in 3D
Whether I’m designing a vehicle, structure or environment, I start by sculpting rough shapes in Blender.
At this stage, I'm not too worried about details. After laying the groundwork, I search for an interesting spot to place the camera and I choose the appropriate lens for the scene.
This method of sketching in 3D gives me a lot of room to iterate on the design in a short amount of time and provides the client with numerous 3D sketches and camera positions.
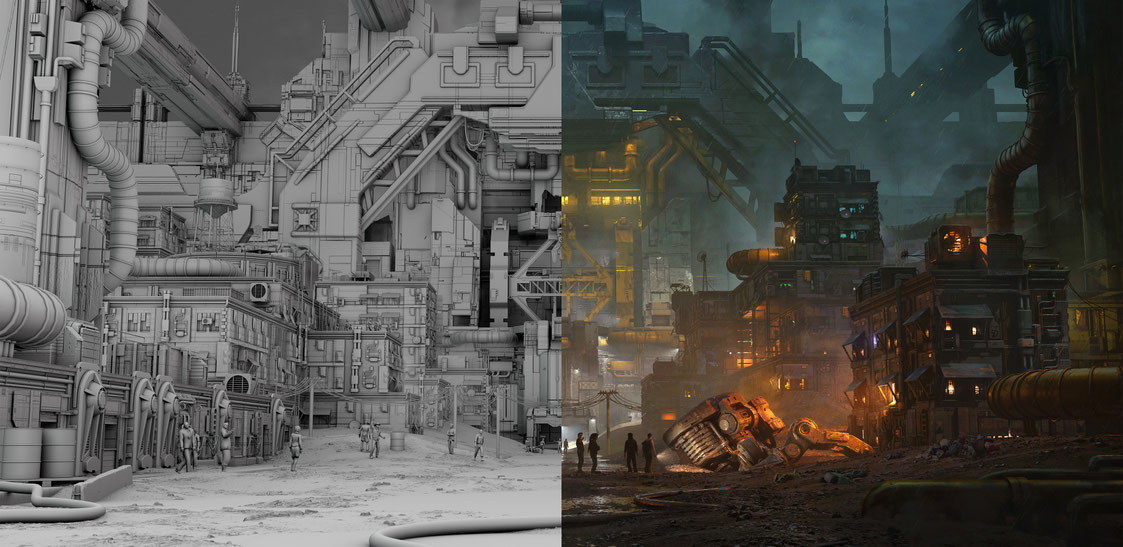
Materials &
Texturing
Next, I move to modeling finer details and shading. This is where the realism starts to kick in.
I work in a physically based rendering pipeline to achieve maximum material-flexibility. I like to create my materials from scratch whenever I can, and try to keep them as simple as
possible.
I often mix several materials together to create dusty, scratched or rusty surfaces. These methods, combined with custom ambient occlusion maps add a lot of depth and realism to the
models.
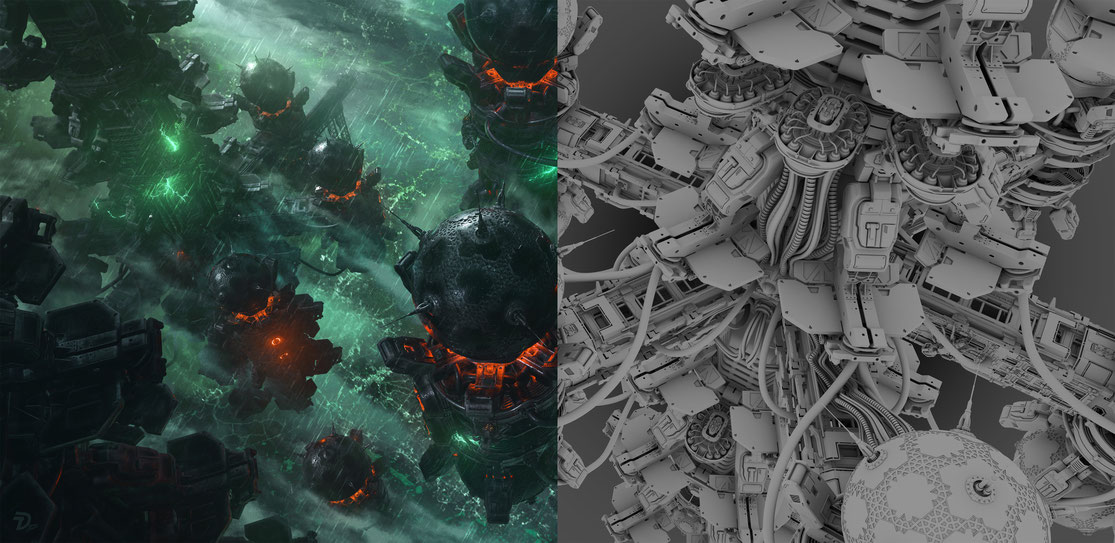
RenderING & Post-PRODUCTION
Once the scene is fully set up and properly lit, I sort my 3D layers and
proceed to the render phase.
The rendered images are then brought into Photoshop. In this final phase I fine-tune the mood of the scene. Special effects, graphic elements and
small details are also added where needed. After a final color grading phase, I paint on top of the image, transforming the original render into a cohesive artwork.